How I learned to stop worrying and just paint.
If you’ve been following for the past two posts, you already know how we got to this point. If not, go check out how we figured out a style and made some art! Now you get to see how we went from regular canvas prints, to textured movie props.
The paintings arrived in an over-sized ~60″ box a few days after placing our order with Canvas On Demand (opted for rush delivery). Each was neatly wrapped individually and stuck to each other and their box via thick plastic bands. After carefully unpacking the paintings and preserving the packing materials (they’d have to leave in this same box), we went about the business of taking reference photographs for the set dresser, and figuring out how we were going to texture these things.
These two photos were taken to show scale of the actual canvas compared to a person. Ken requested these so Kevin and the set dresser could review and plan which canvas they’d use. My wife suggested the Silent Bob pose when she took the pictures ;). On the left; the 37.5″ print. On the right; the massive 48″ print.
Ordering the canvases was an interesting process. We ended up ordering 5 in total. While only one painting would appear in the film, we wanted to ensure we gave ourselves a wide enough margin for error, and that we were ordering the correct size. We ended up with one small canvas to test acrylics on, two 37.5” x 23” sized canvases, and two 48” x 28.8”. Once the prints arrived, we took several photographs to send along to the set dressers so they knew what they would be working with size-wise and color-wise. That finished, it was time to give these digital prints their finished, painted look.
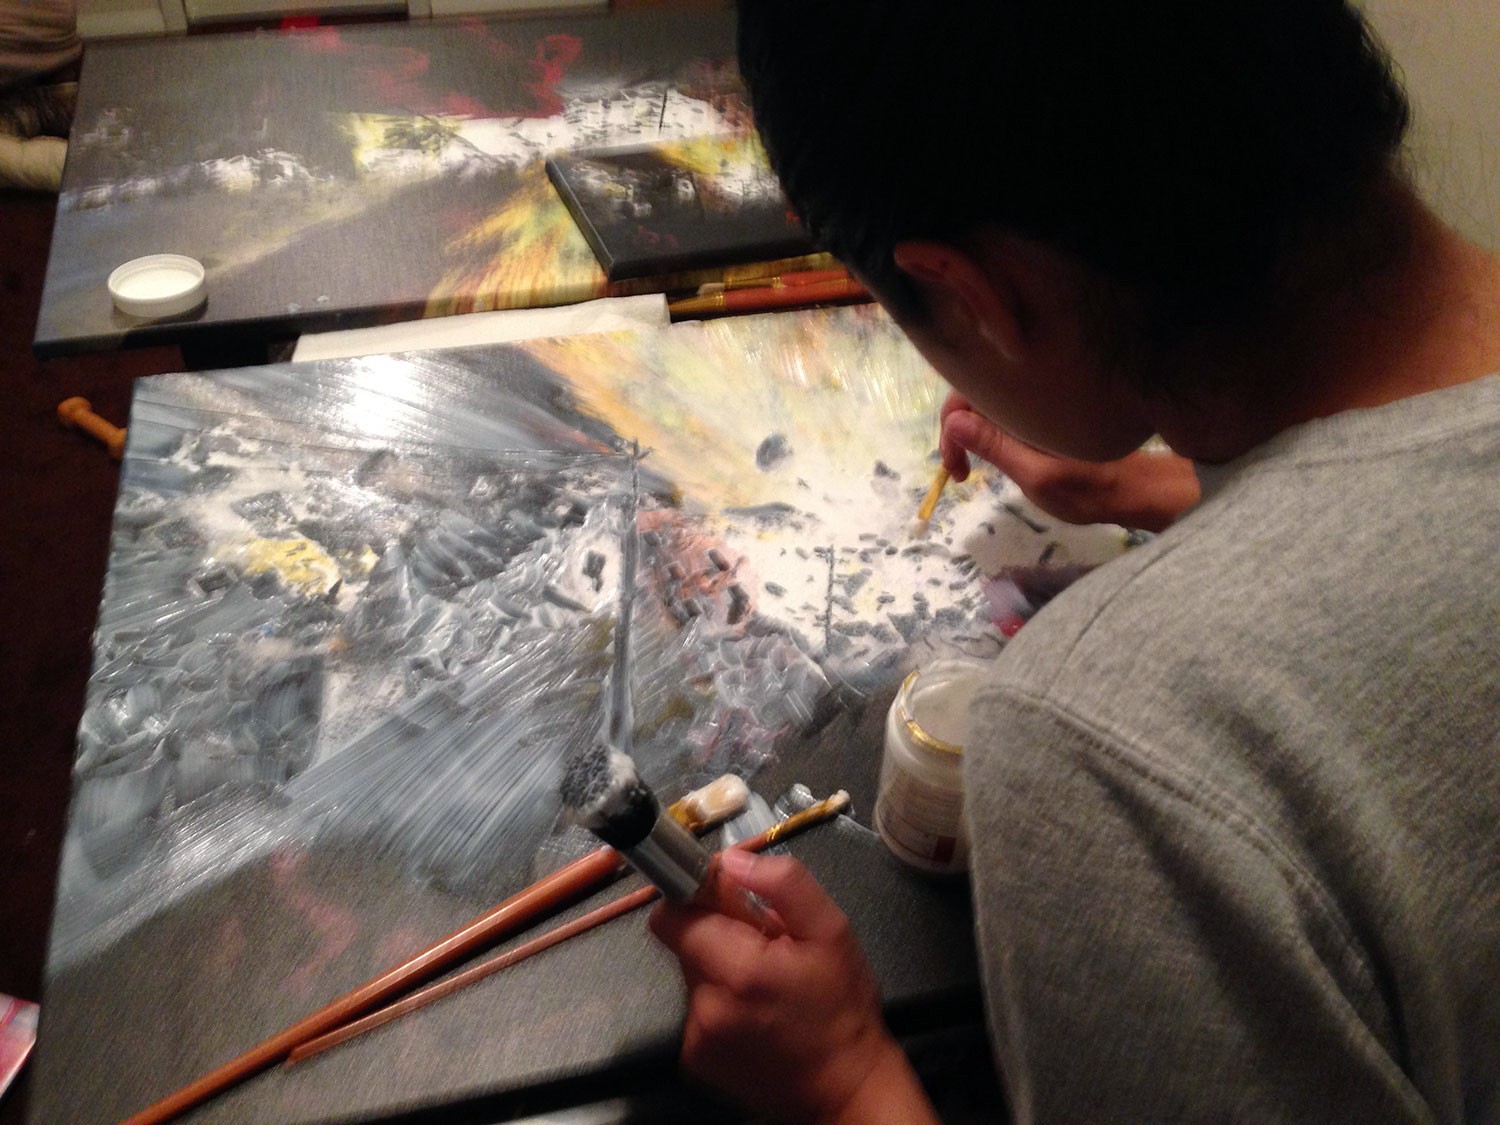
Instrumental to this process was my wife, Stacy. She went out with our daughter to buy brushes and spray mount. She also picked up a tub of Liquitex Acrylic Gel medium. Ken and I assumed that the spray mount would do the trick, but, Stacy wasn’t sure how that was going to work and picked up a small tup of Liquitex acrylic gel medium. Knowing I needed to jump straight into the story boards and animatic, Stacy took on the task of painting the texture on the canvases herself. She found that the spray mount was pulling up the color from the canvas, made the brushes stiff immediately, and wasn’t offering much in the way of texture (it also smelled terrible). Using the Acrylic gel medium, she was able to create a physical texture following my digital brush strokes with a real world brush and physical medium.
This created the swirling, ridged textures that appear in the finished piece, that would ultimately end up on screen. Our take away moving forward? Acrylic gel medium really needs to be laid on thin, allowed to dry, and then layered. One bump we ran into was having a few cloudy areas (click for detailed shot), where the gel had dried the thickest, and was still moist inside (note how the gel goes on opaque in the above image). Fortunately, the affected areas dried quickly enough and the pieces were good to ship off to the production office in the Carolinas within a few days.
In part 4, I’ll explain the process of actually animating the layers in After Effects, and some hard lessons learned while working with Video Gogh and Trapcode’s Mir!
Special thanks to my beautiful wife who not only figured out the absolute best way to add texture to the paintings, but also served as a great model, and continues to be the best wife/mother combo I could have ever asked for. Did I mention she’s also an expert hooker? NO! Not that kind of hooker. She’s the Crochet Kitten!


Comments are closed