Everything has to start somewhere, whether it’s a skyscraper, a meal, or even a human being. Creation doesn’t just happen — it’s an iterative process. Buildings start with a blueprint, meals begin with a recipe, and I don’t think I need to explain where babies come from. The point is, there is a process to everything, and that includes videos. I wanted to take a moment to give everyone a peek behind the curtain at our explainer video production process using this video I produced for SAP as an example.
Coming Up with a Plan
When the client approached me, they had the simple goal of reducing the bounce rate of their landing pages by posting a quick, relatable video that gave a good high-level overview of their Digital Consumer Insight service. With that in mind, I requested examples of other work they’ve seen that they’d like to emulate and, failing that, provided a few examples from my portfolio to go on. We also confirmed that the video shouldn’t overstay its welcome, so we settled on a runtime between 30–60 seconds. Shortly after, I received this brief.
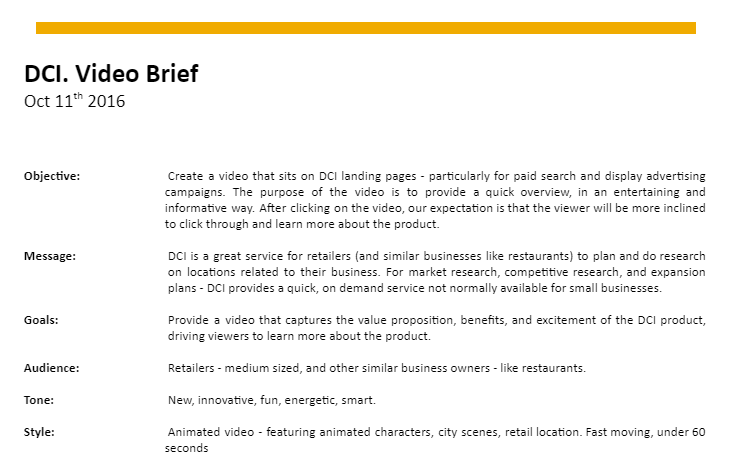
This gave us a lot of good, high-level information to work from. We knew it had to feature characters in a city scene and target small-to-midsized retailers. We also needed to communicate that they provided critical data for competitive research, potential expansion, and improving foot traffic.
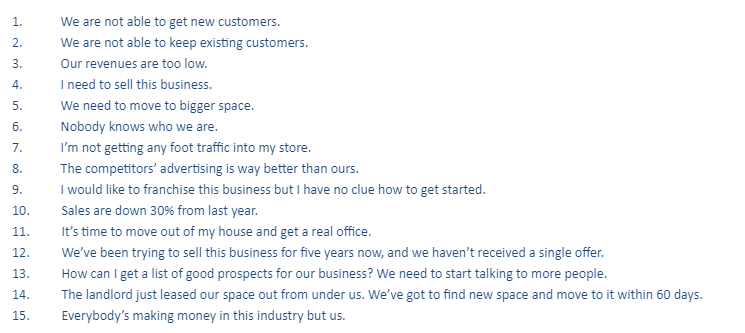
Then they provided a list of small business pain points to address.
Watching the video, you can tell right away where we decided to focus our attention.
We managed to lock the script down by the third draft, which follows the tried-and-true explainer video format below.
- The Old Story
- Need more customers to grow
- Don’t know who they are or how to reach them
- The Turn
- SAP DCI
- The critical data you need to turn potential customers into your customers
- The New Story
- Analyze anonymized data captured from mobile devices to gauge foot-traffic
- Demographics
- Picking physical locations
- Get the data you need to get customers
It’s a feature-heavy product, so we focused on the new story. With the script locked in, it was time to move into…
Defining the Look
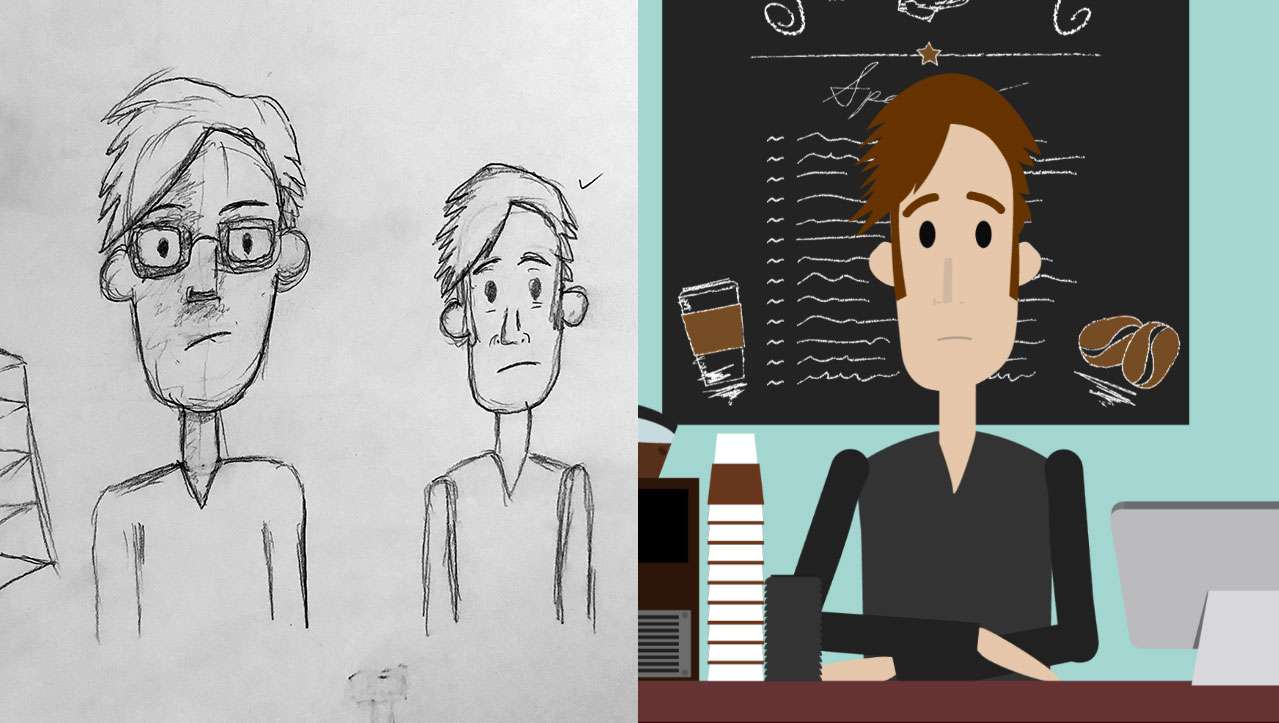
With the story and visual direction locked in, it was time to turn our attention to the visuals themselves. This is where the style frames process comes in handy. With any creative process, I like to start on paper, so I pulled out my trusty sketchbook, and churned out these images for the main character and the environment.
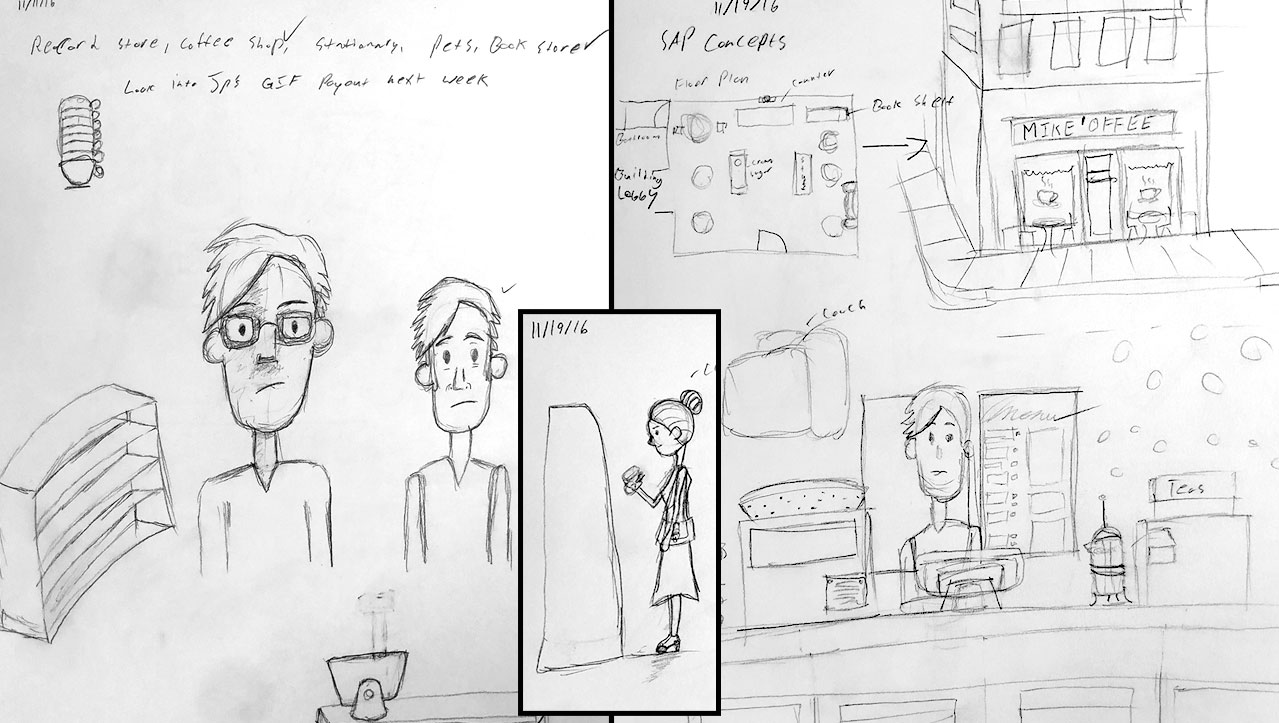
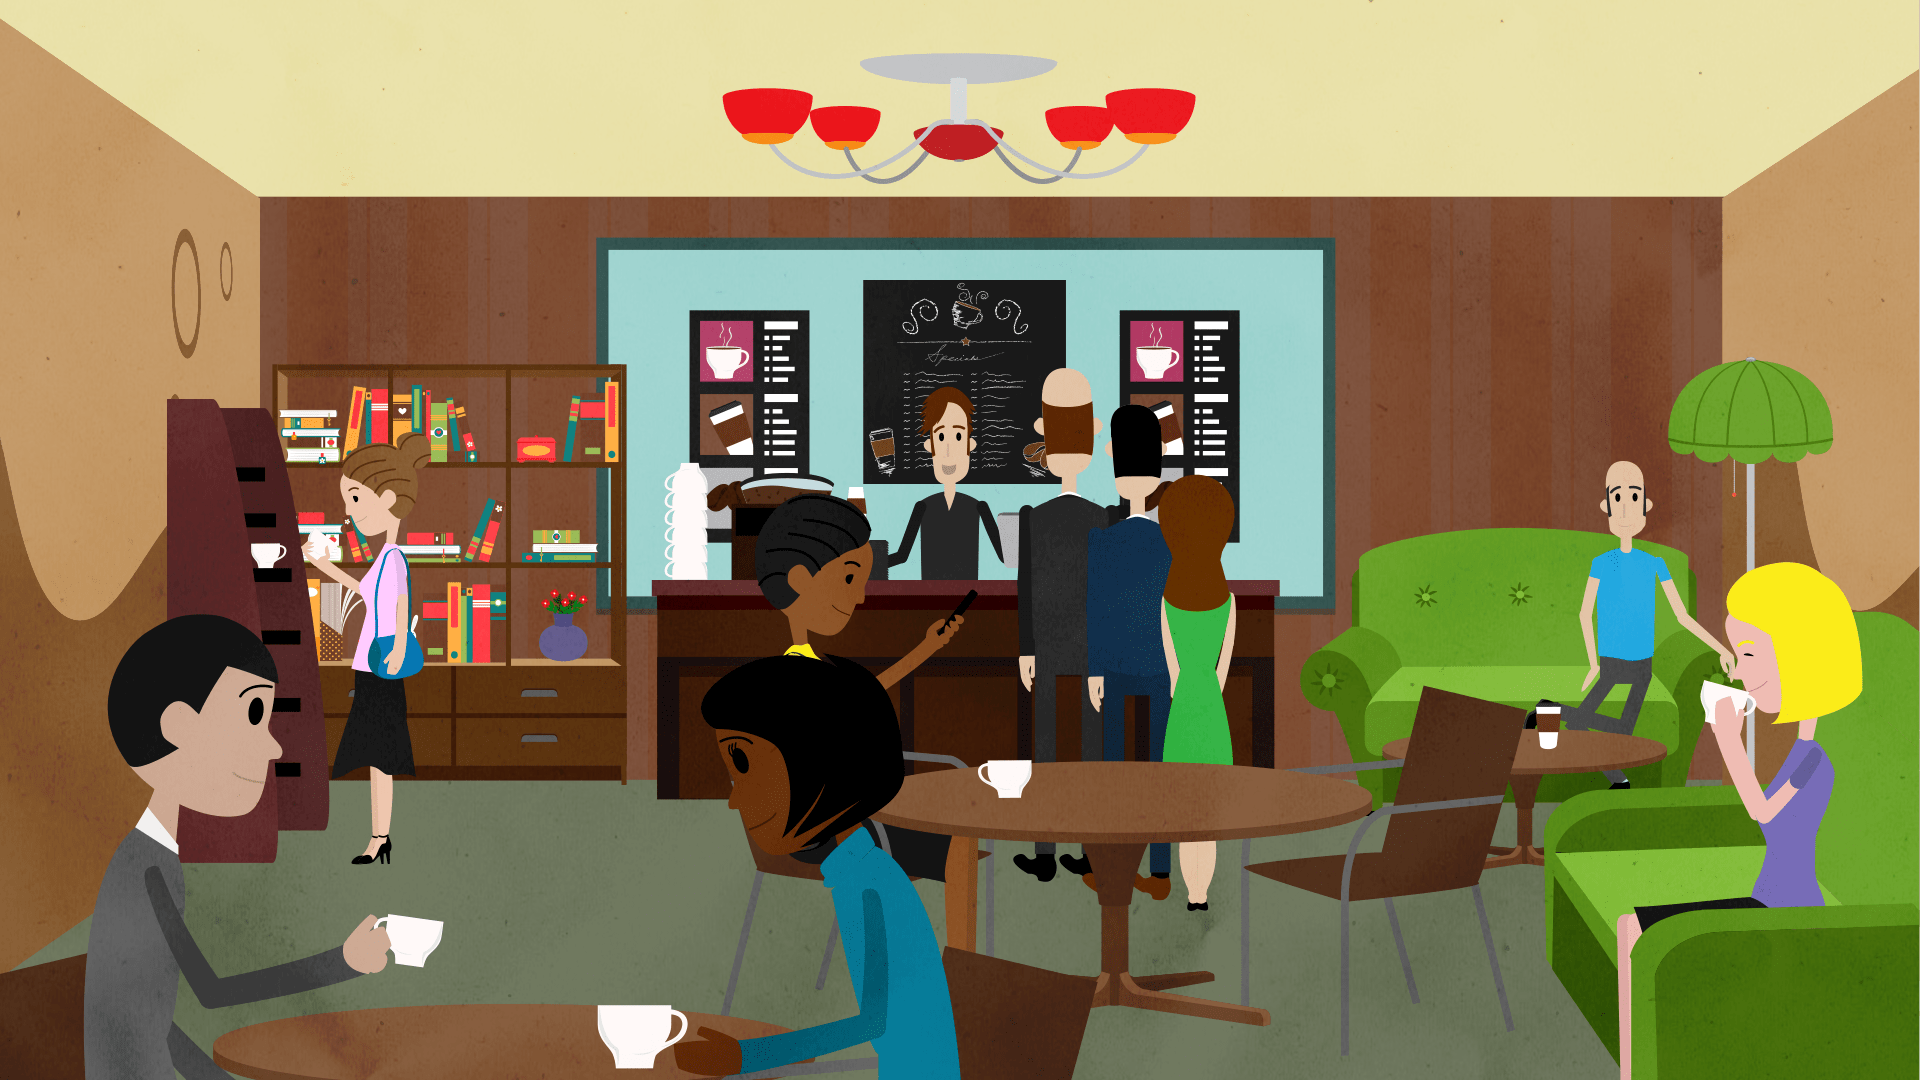
I opted to put the coffee shop between two buildings instead of having it on the corner, but beyond that, you can see how this led to the final video.
Once I had a firm idea of how I wanted my characters and setting to look, I imported the sketches to Illustrator and provided the following style frames to SAP for review.
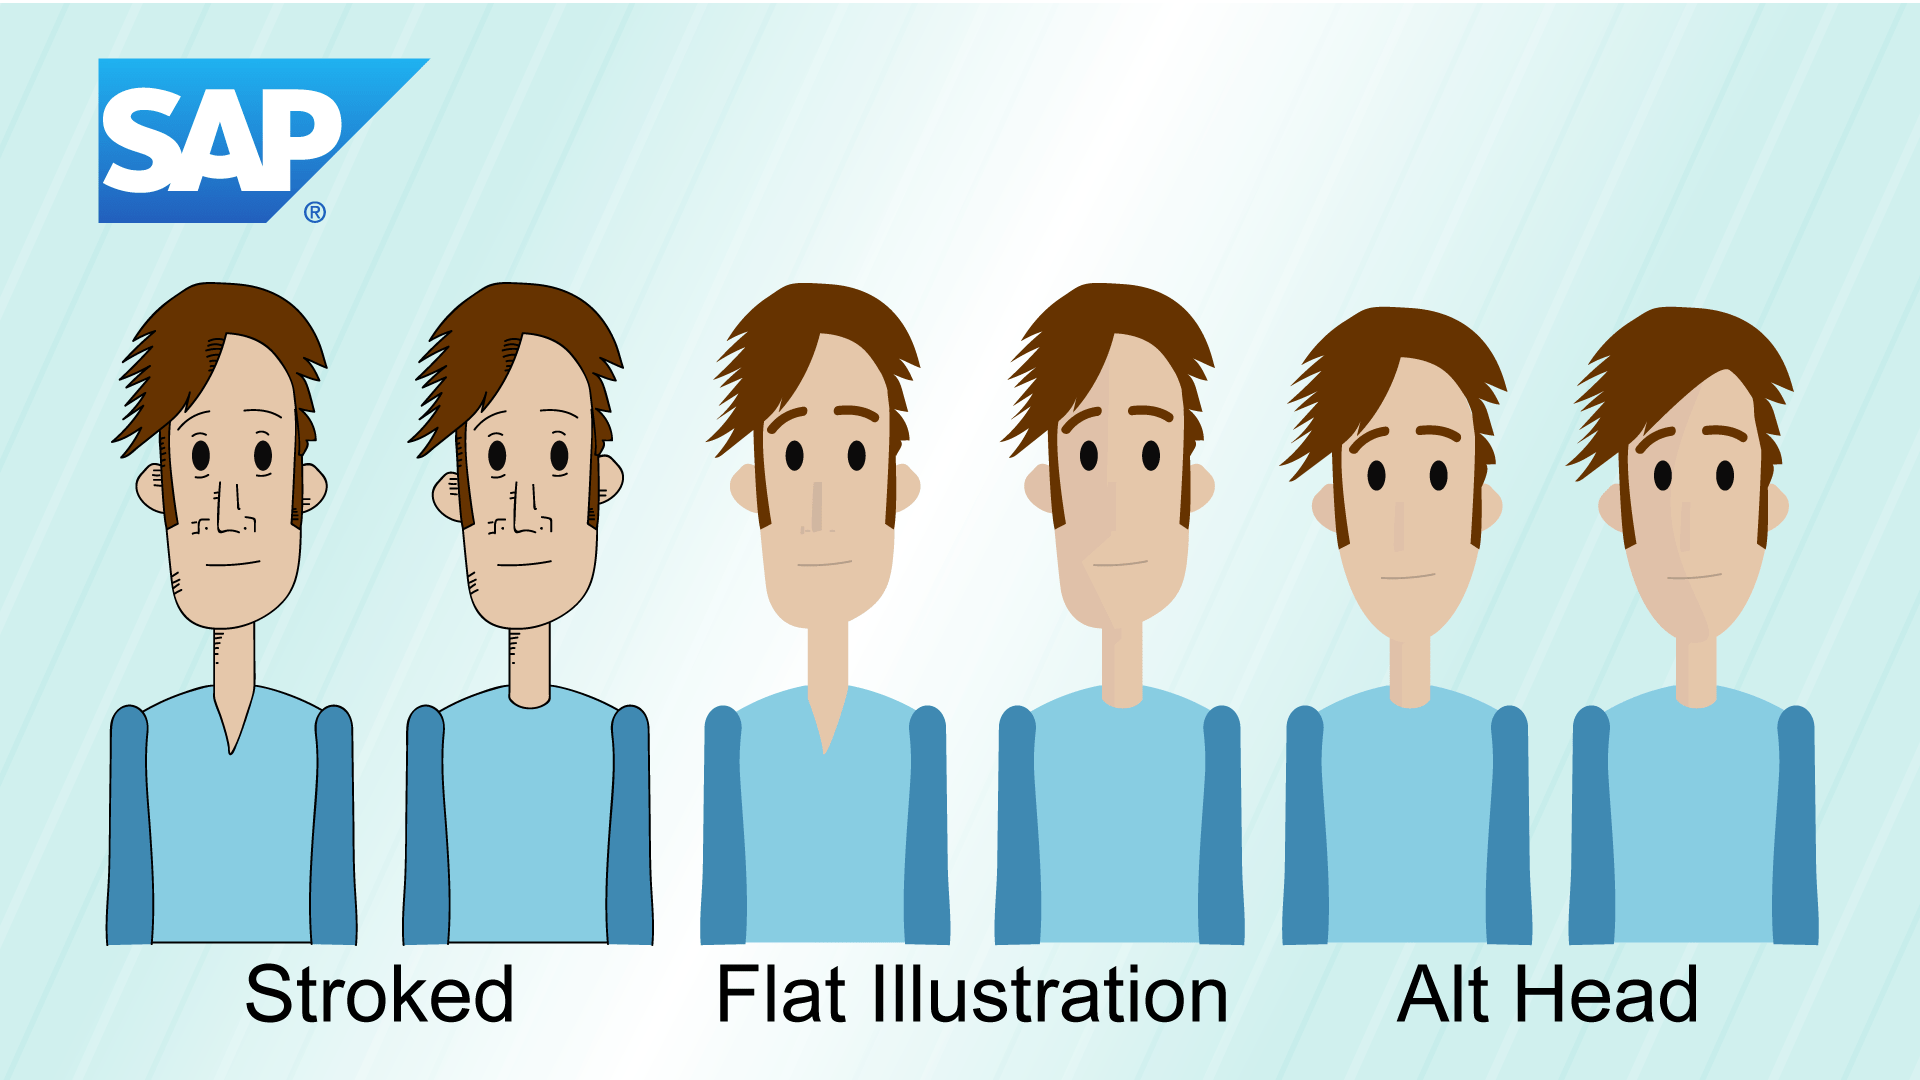
The strokes were a bit much for the client, but they liked the direction the character was going in. We gave him a black shirt and ran with it.
Early on I had pitched the idea of adding a rough paper texture to characters and the environment, but the client opted to stick with the clean vector look. I miss the grain, but I concede that the clean vectors are better for a tech company
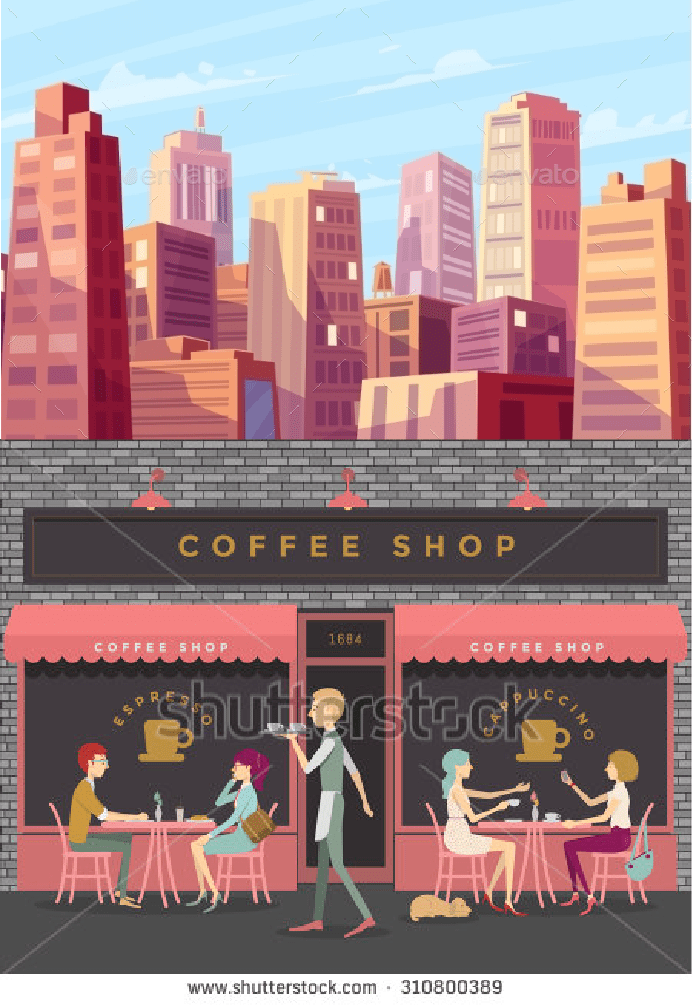
I didn’t know how I wanted the outside of the coffee shop to look, so I dug around for some references. The cafe facade with the warm brick reds and flat shading fit the look I was after best.
With the style frames locked, I had approval to create the rest of the assets and incorporate them into my storyboards.
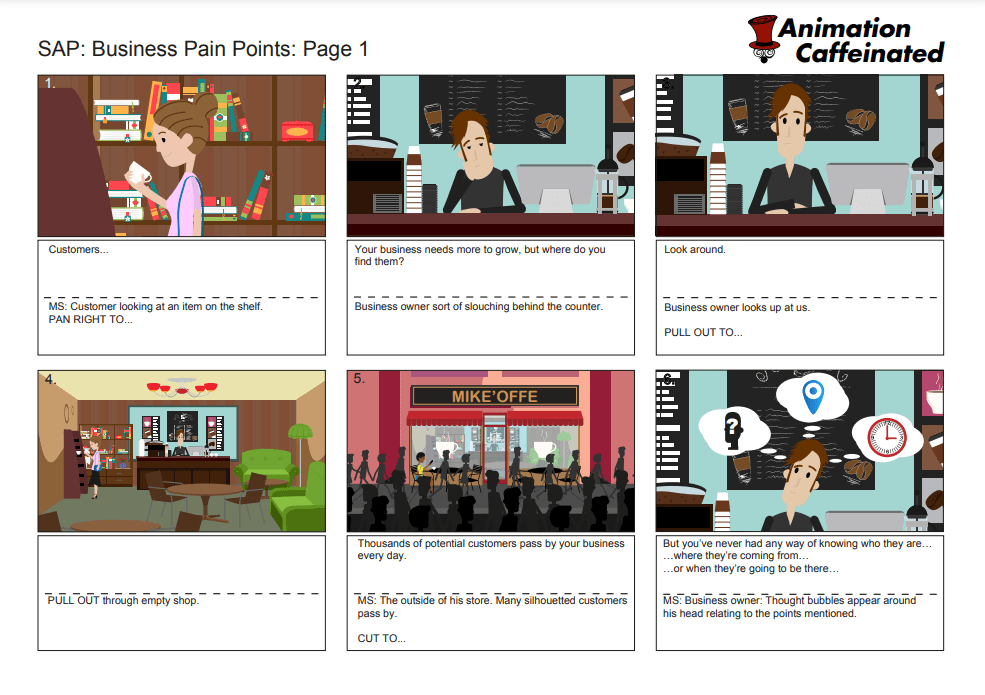
This is the first page from the final storyboards using finished assets. The visual direction from the script is in the lower half of each frame, while the VO is in the top half.
Once we had the visual direction locked down, we were ready to go into animation.
Bringing It All Together
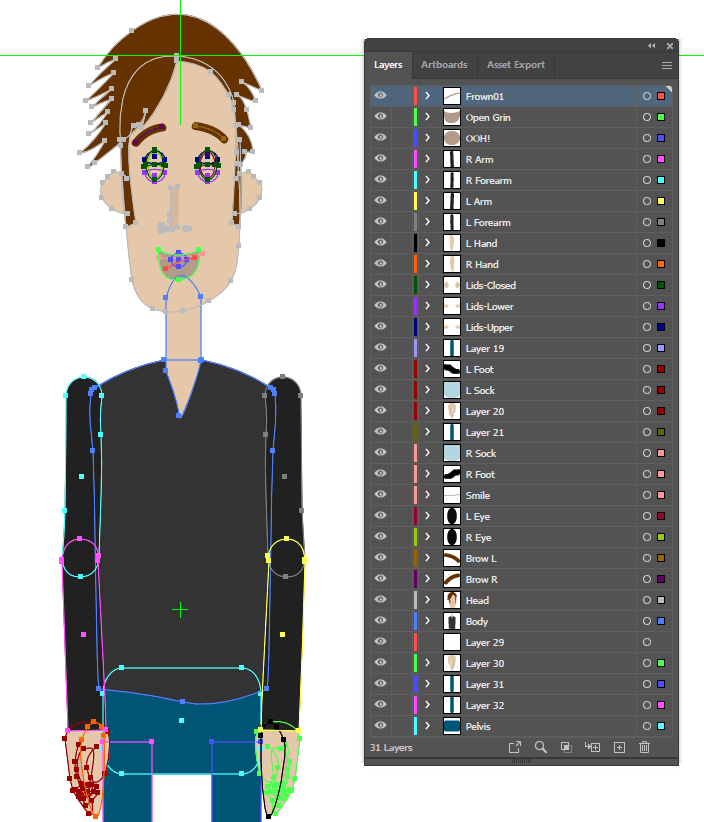
Once the storyboards were approved, I prepped the assets for animation. When I work in After Effects, I create all of my characters, props, and backgrounds in Illustrator first, and then I chunk them into layers, as you can see in the example to the left.
Note the circles that appear mid-arm. The joints were drawn this way to accommodate the rig in After Effects.
These layers follow a parenting hierarchy, which you probably already know.
All of these layers are precomposed and animated, and collected in their own composition, which is nested in the first shot.
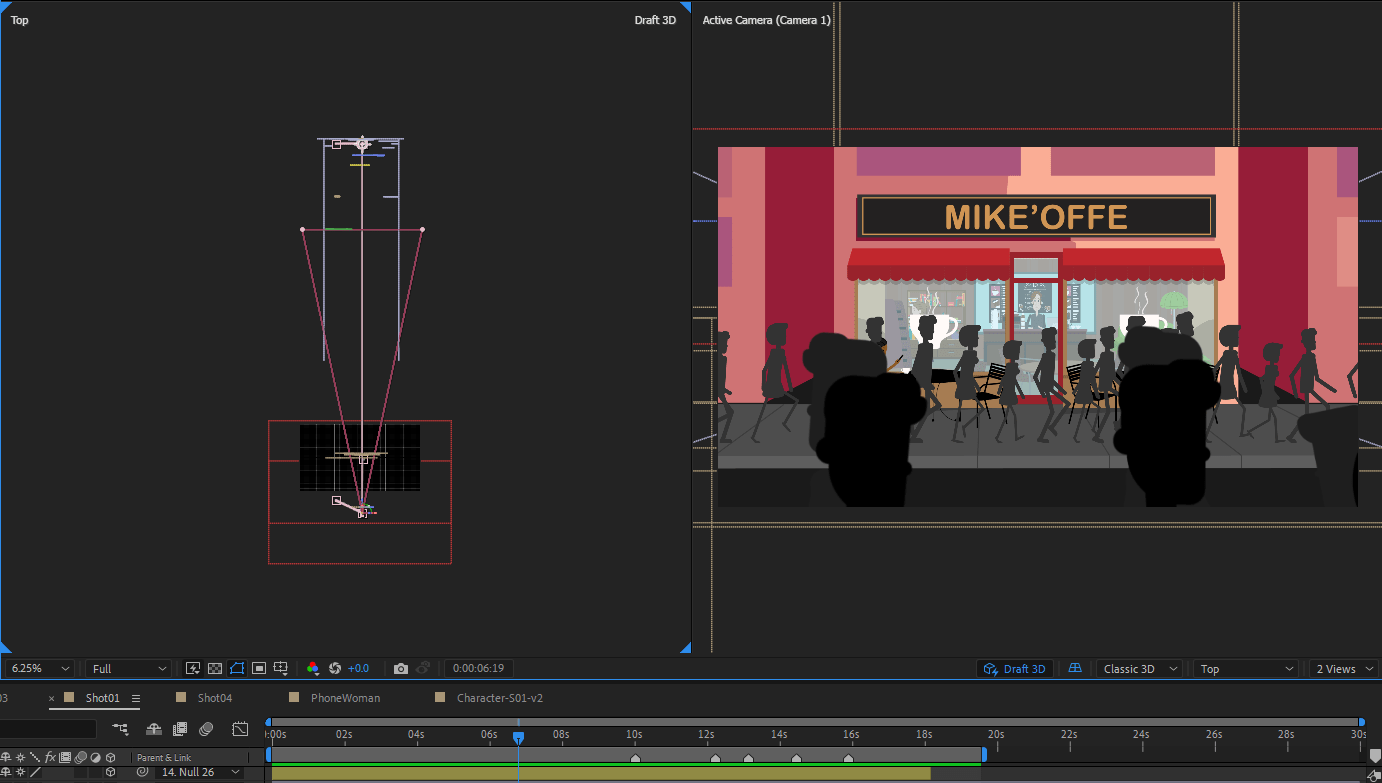
You can see that the entire opening sequence is one shot with a 3D camera pulling back through the scene.
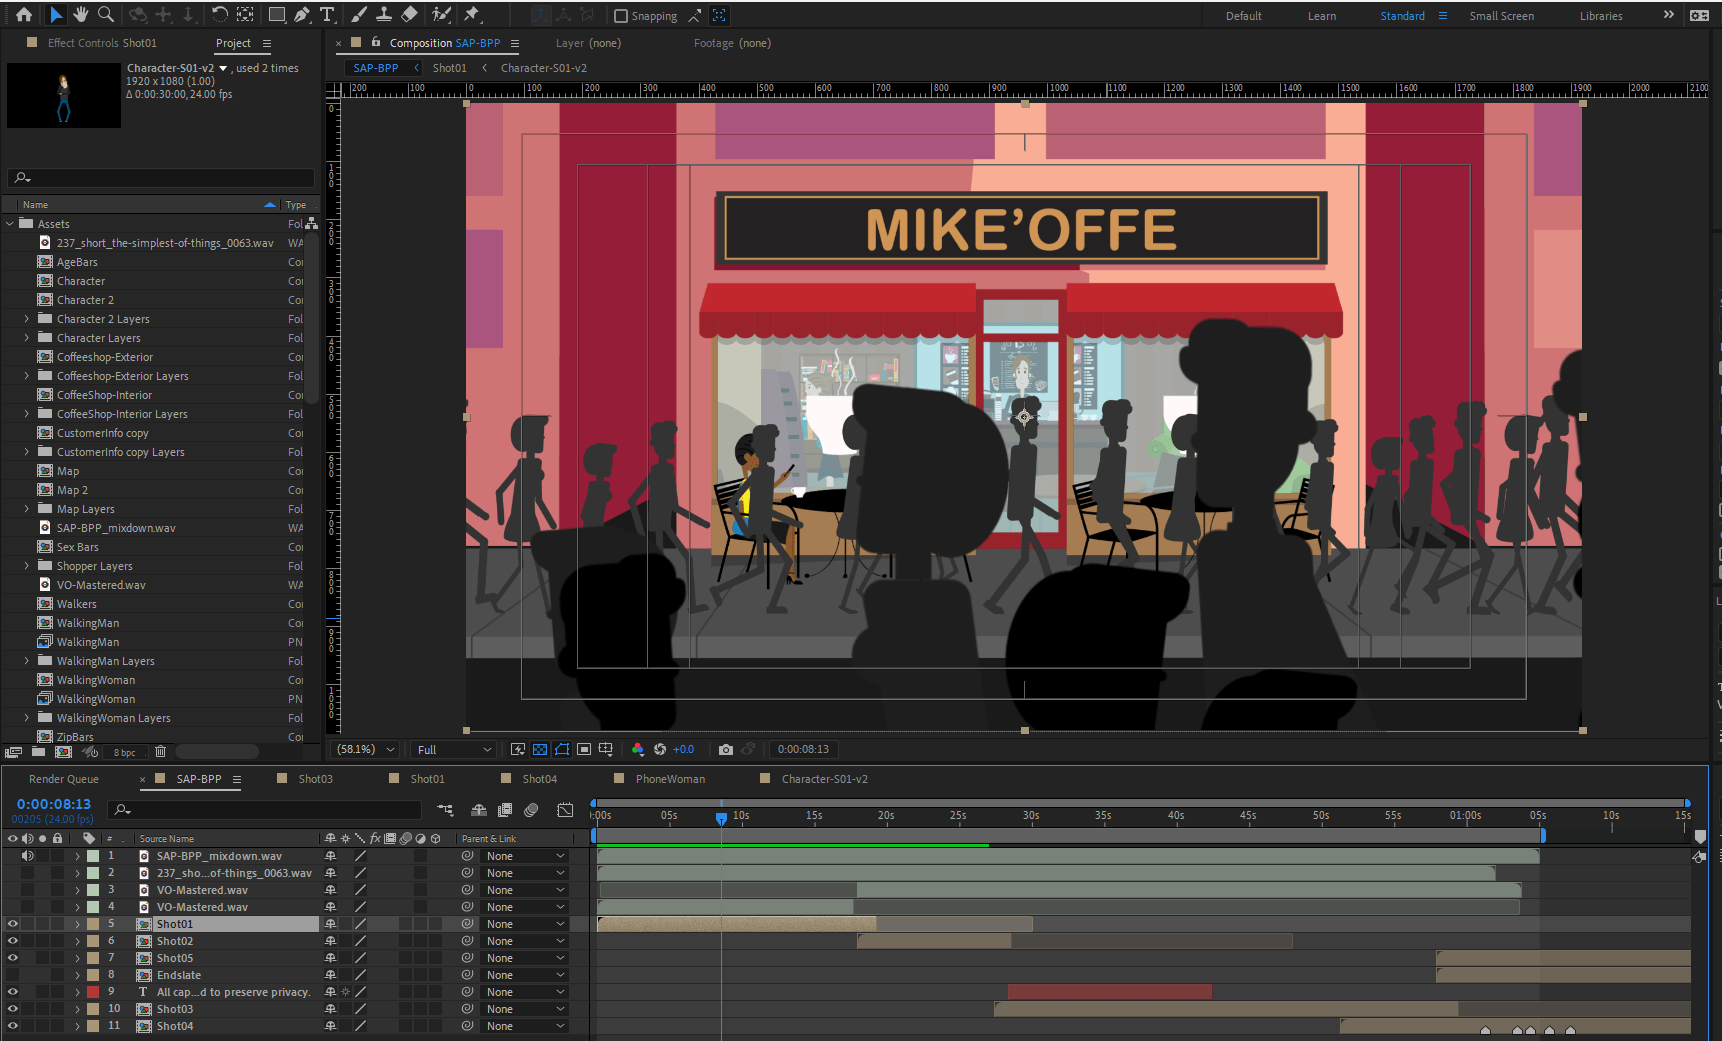
Nesting compositions allows me to keep hundreds of layers organized and compartmentalized.
You can almost think of this workflow as Russian nesting dolls, with a composition within a composition within a composition. I also like to play with 2D shapes on 3D layers to create a parallax effect.
Once the animation was finalized, it was time to go into final editorial. I mastered the VO, added sound effects and music, and mixed everything down. I won’t go into details, but I will provide a snapshot of my audio workflow in Adobe Audition.
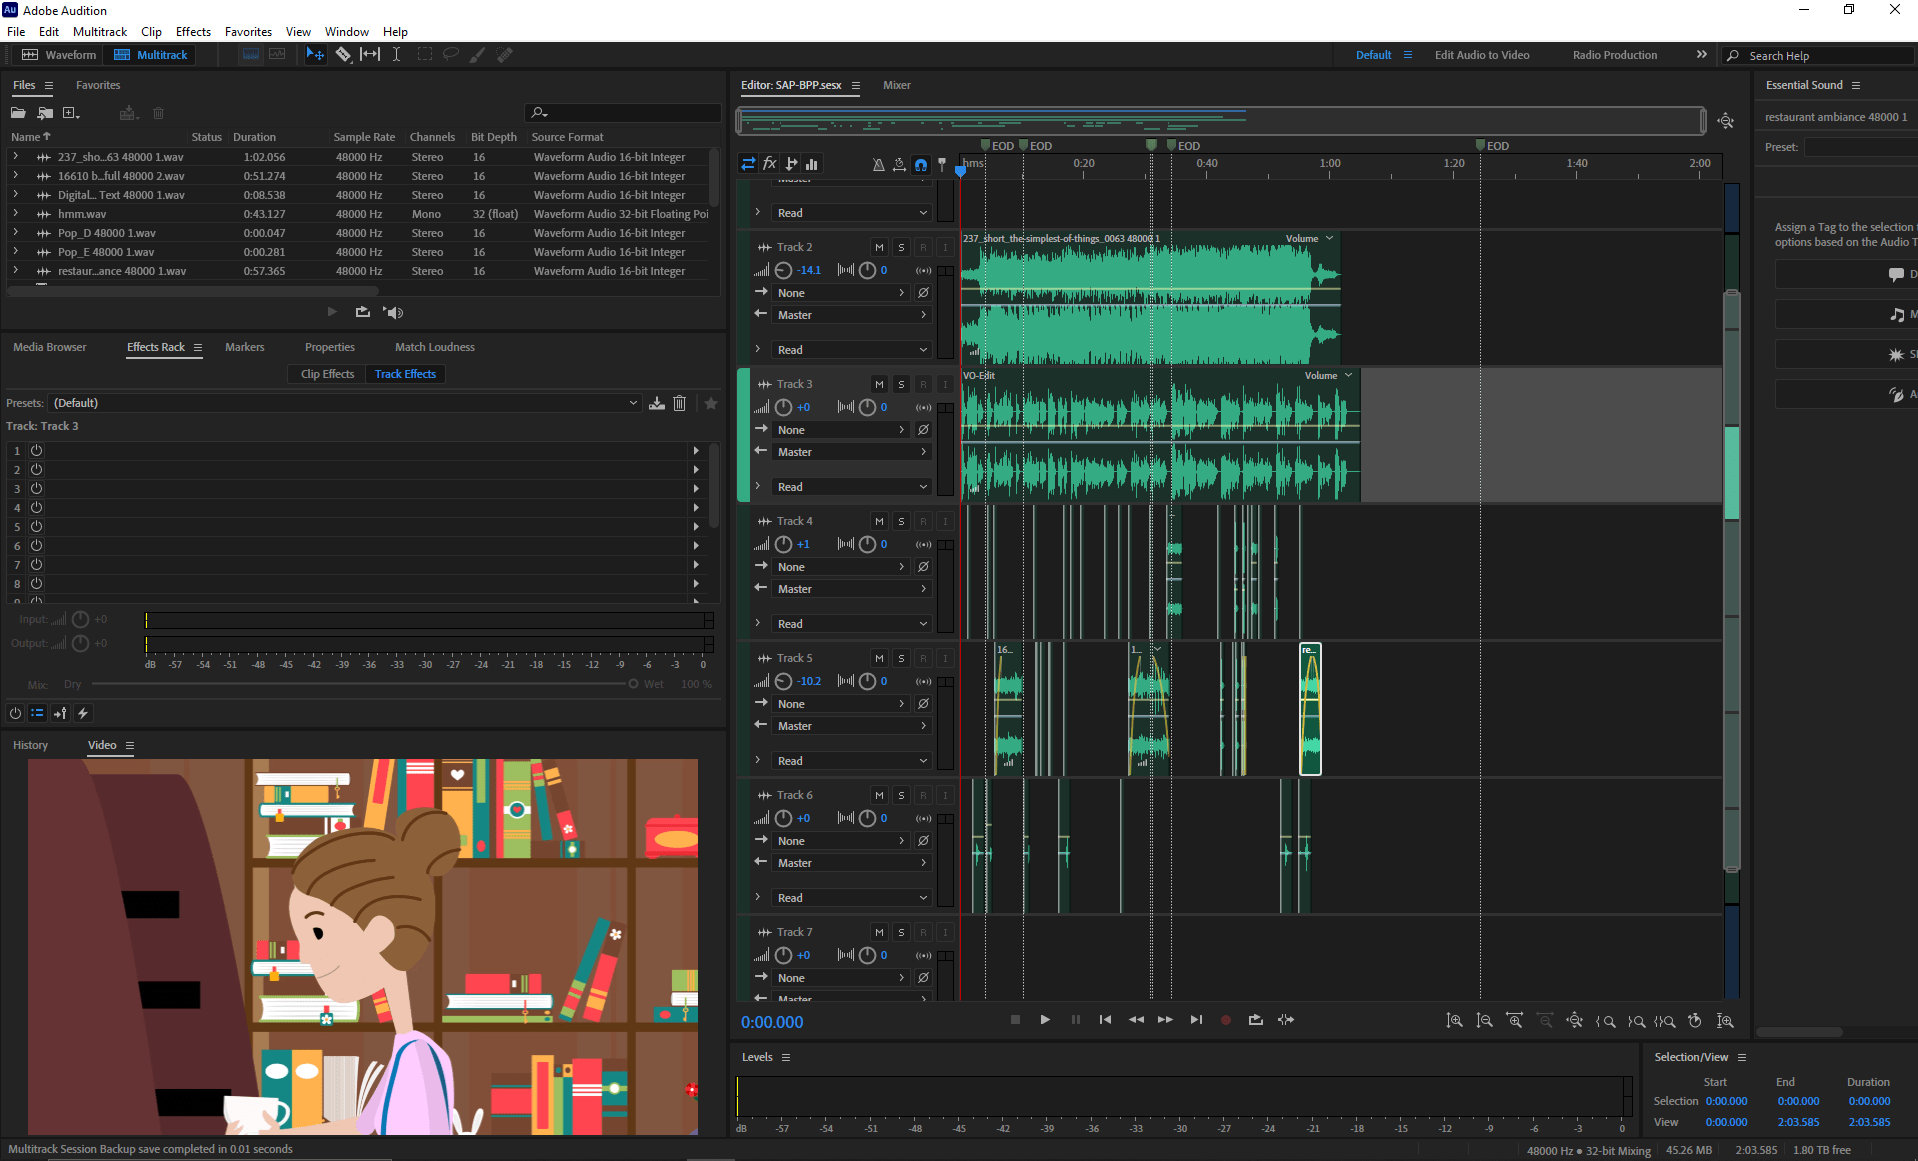
The video was brought into Audition where all the audio elements were added and mixed down.
Once the final mix was output, I brought that back into After Effects. Then I pumped out the finished video you see at the top of the post.
And that’s it! Now that you know how we’re producing content explainer videos at Animation Caffeinated, why not reach out and see what we can do for YOU.
Comments are closed